Wondering when you connected with someone on LinkedIn? Connection dates help you time follow-ups, personalize context, and prioritize active relationships. Whether you’re planning your outreach sequence, adding relevant details to your conversations, or cleaning up your LinkedIn network, knowing when you connected keeps your business interactions timely and relevant.
How to find connection dates on LinkedIn manually
You’ll find the exact connection date in a profile’s Contact info. Here are two manual approaches.
Method 1: Checking the connection’s contact info
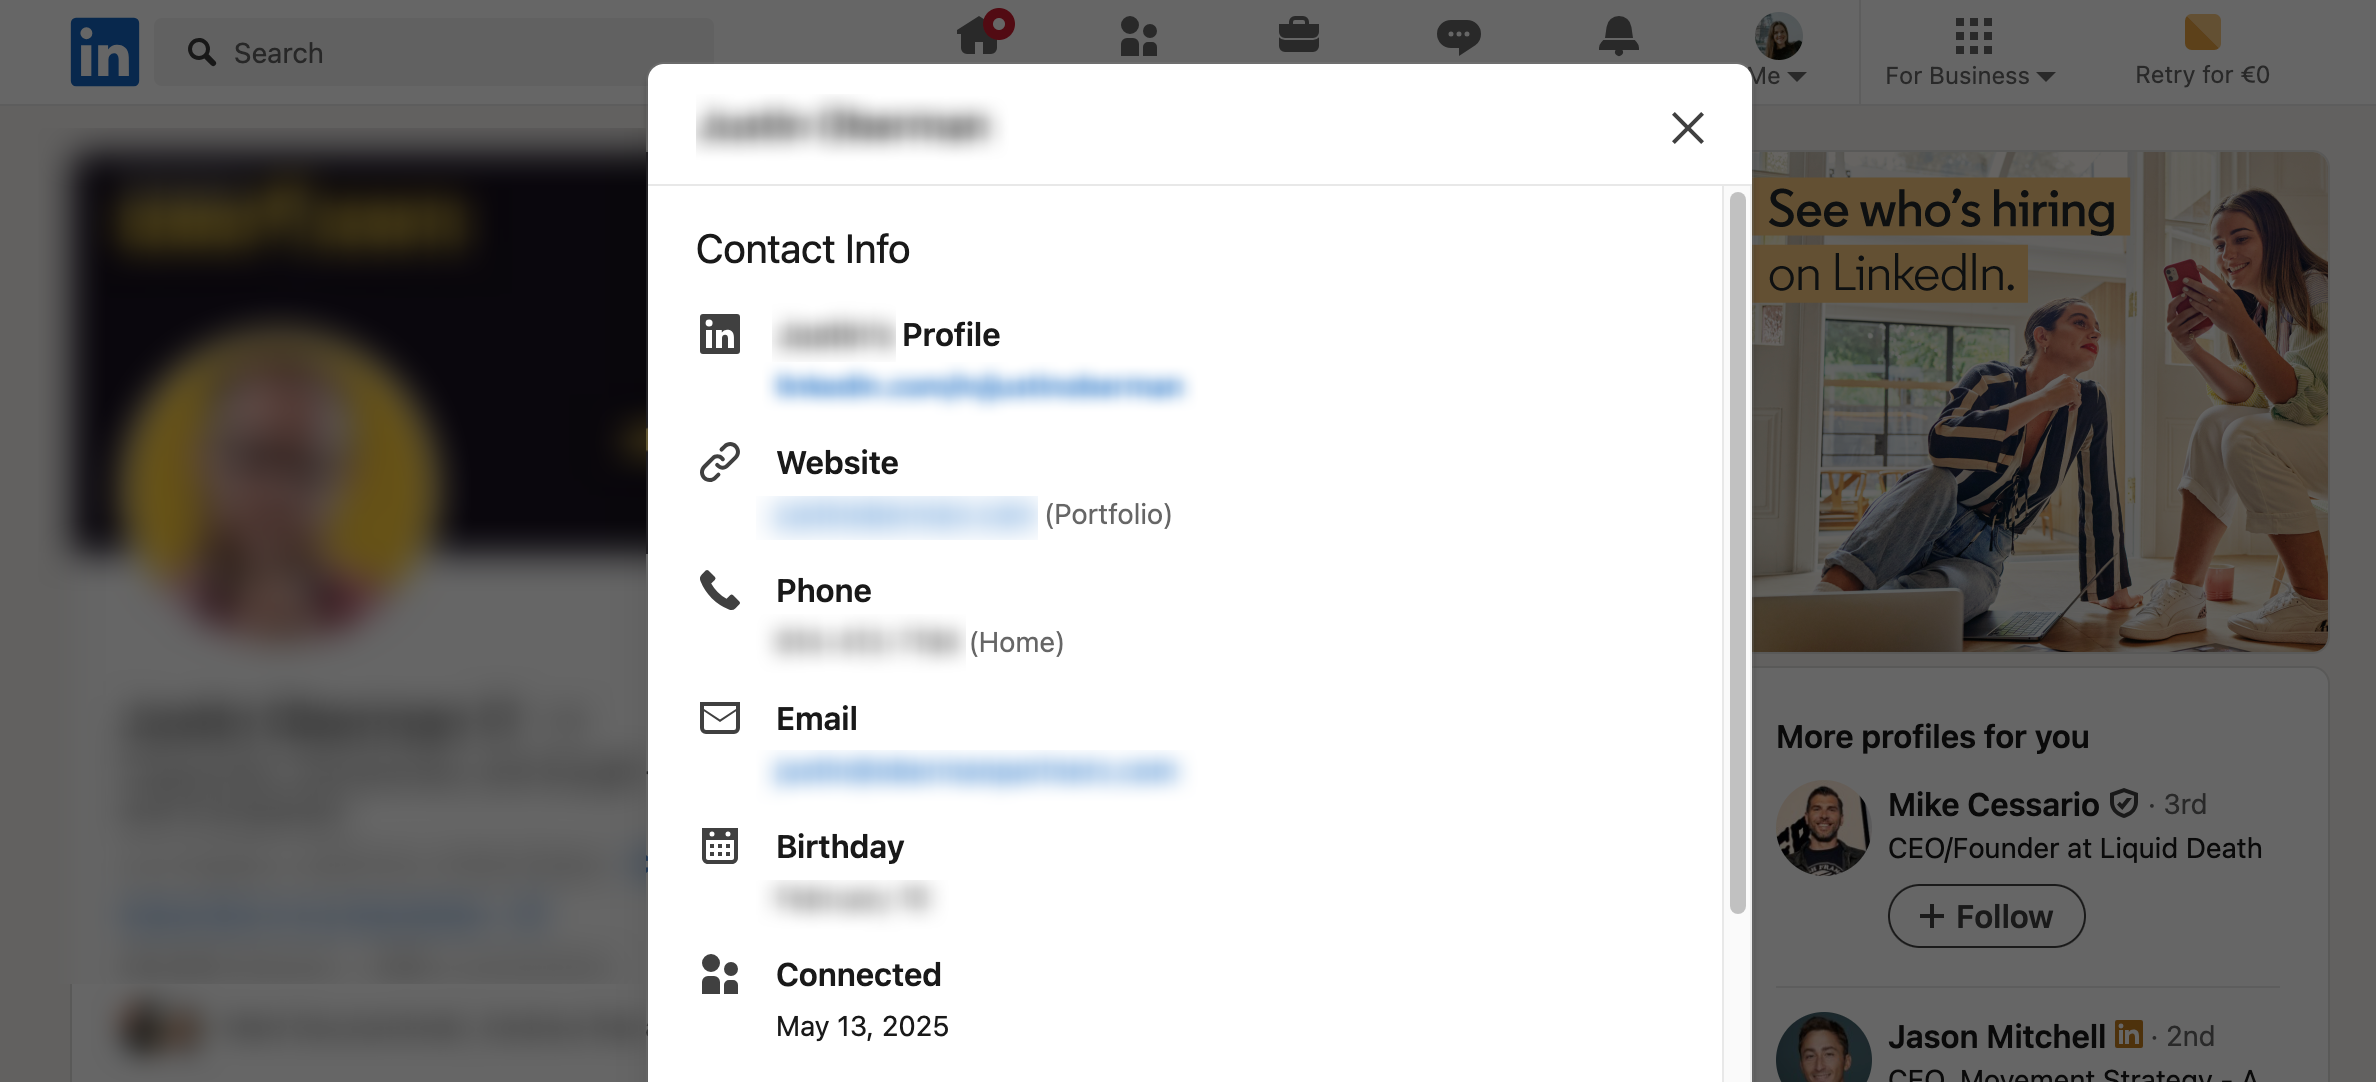
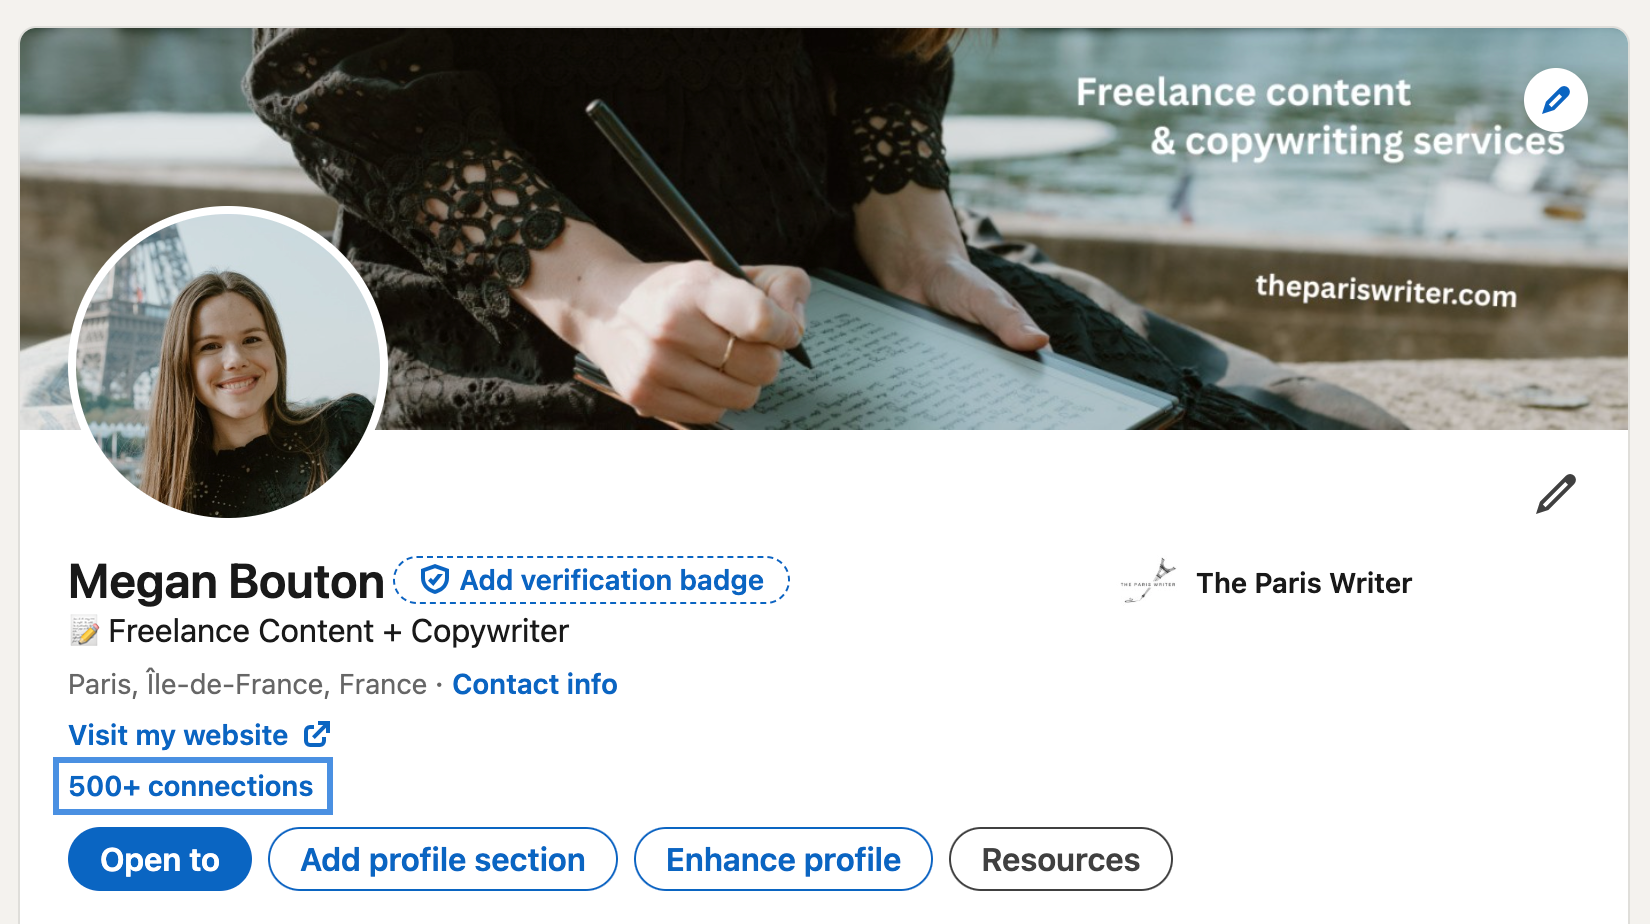
The most direct way to see when you connected with someone is through their LinkedIn profile.
- Navigate to the person’s profile.
- Click on the “Contact info” icon below their headline.
- View the Connected date (for example, “Connected on March 12, 2026”).
This process is simple. It takes three clicks on a profile.
Checking dates one-by-one doesn’t scale. If you manage hundreds of connections, it turns into hours of repetitive clicks across your full LinkedIn network.
Method 2: Viewing recent connections on your profile
You can also view your recent connections, which can give you an idea of timings.
- Click on “My Network” in the top navigation menu of your LinkedIn account.
- Select the “Connections” icon in the left sidebar.
- By default, LinkedIn shows recently added connections first.
- Browse through your connections to see the approximate order they were added.
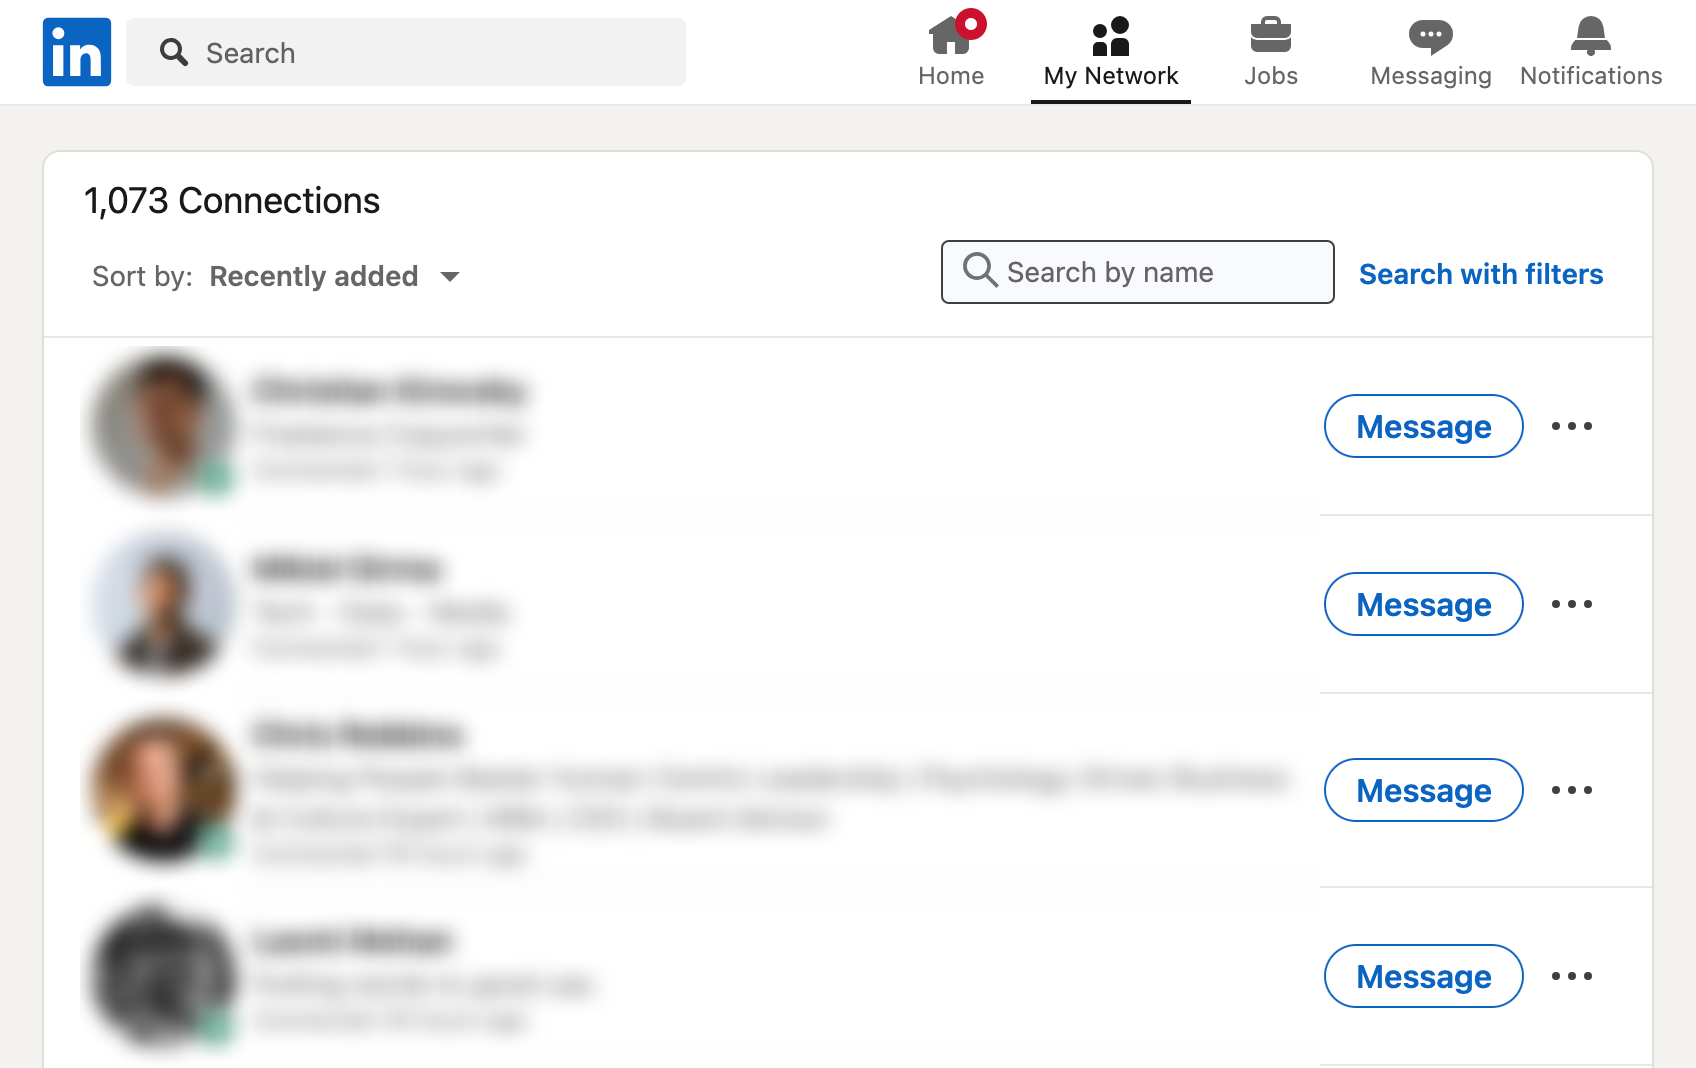
One limitation: the list view doesn’t show exact dates. While you can see your connections in chronological order, you won’t see exact dates here. You’ll still need to visit individual profiles and click contact info to see precise dates. This isn’t efficient when tracking a large network.
How to export contacts to view the connection date
What if you need to check multiple connection dates at once? Export connections in bulk with PhantomBuster‘s pre-built LinkedIn automations.
Using PhantomBuster’s LinkedIn Connections Export automation
LinkedIn does have a built-in export feature, but it can take up to 24 hours to receive the file. PhantomBuster pulls your connections and their exact connection dates in minutes, ready to sort and filter.
- Create a PhantomBuster account.
- Open PhantomBuster’s LinkedIn Connections Export automation.
- Connect your LinkedIn account with the PhantomBuster Chrome extension (secure session-based connection).
- Choose the settings: This includes how many profiles to extract. Start with conservative daily limits (for example, 100 to 300 profiles per day depending on account age and activity) and increase gradually. You can also choose how to sort them (by date or name), and your launch timing and frequency.
- Run the automation to export your connections within your set limits.
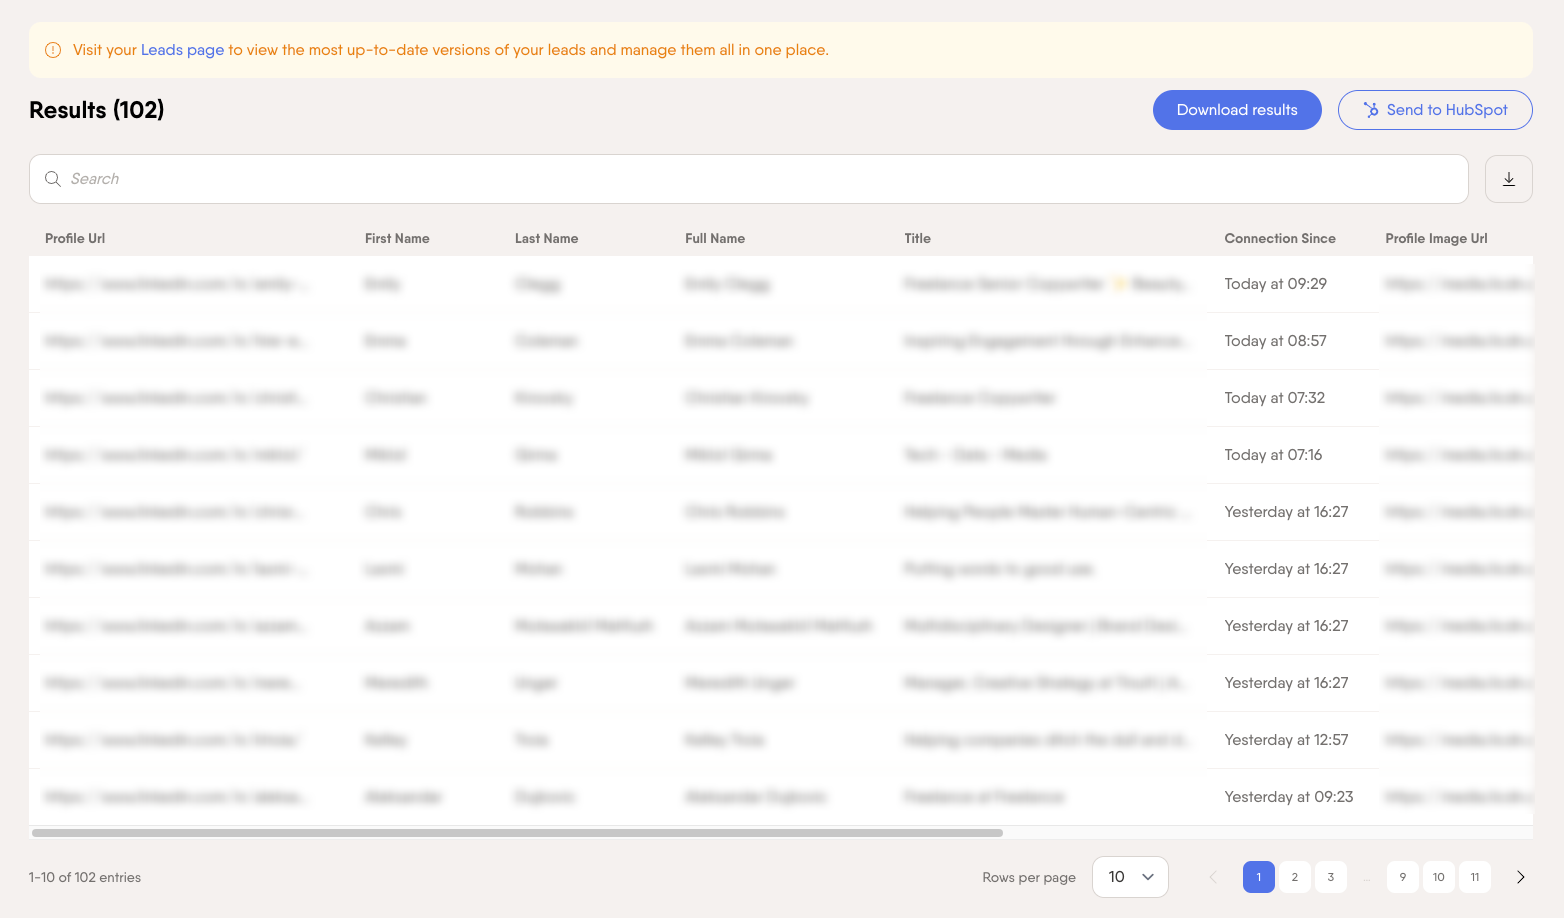
- Download the results file or view the data on your PhantomBuster Leads page. This log includes:
- Full names of your connections
- Their profile URLs
- Job titles and company details
- Exact connection dates for each person in your network
- Additional profile information
Export and store data responsibly and in line with LinkedIn’s terms and your company policy.
You’ll get a spreadsheet of connection dates you can sort, filter, or sync to your CRM. This helps you track relationships with more context.
Building your networking strategy with connection dates
What’s next? Once you know when you connected with someone on LinkedIn, you can plan how to follow up over time. Here’s how to do it with PhantomBuster’s pre-built automations.
1. Prospecting and connection phase for new opportunities
You have several options to automate your prospecting on LinkedIn.
- Target content engagers: Use PhantomBuster’s LinkedIn Post Engagers to Lead Outreach to connect with warm prospects who’ve already liked or commented on your posts. This lets you send personalized requests that reference their engagement.
- Focus on company followers: Implement PhantomBuster’s LinkedIn Company Follower Collector to Outreach to connect with people interested in specific target companies. This is perfect for account-based lead generation.
- Use standard search: Use PhantomBuster’s LinkedIn Search Export and LinkedIn Outreach to find and connect with prospects based on their job titles, industries, locations, and other parameters.
2. New connection management phase
What happens when you have fresh connections incoming? Here’s how to nurture the connection right from the day they reach out.
- Accept promptly (within a day): Use PhantomBuster’s LinkedIn Auto Invitation Accepter to accept incoming connection requests so you can reply while the context is fresh. You can schedule regular runs to keep your invitation queue clear, and add an optional introduction message.
- Follow up shortly after acceptance: If you haven’t already done so with the above automation, or if you’re also sending out connection requests of your own, you can also configure PhantomBuster’s LinkedIn New Connection Welcome Message. This sends a short, personalized note that references context when you become a 1st-degree connection.
This keeps your invitation queue current and schedules welcome notes, so you focus on replies, not admin. Your outreach is handled from day one for every new connection.
3. Engagement and nurturing phase with a personal touch
Use PhantomBuster’s LinkedIn Message Sender to schedule follow-ups triggered by the connection date, so messages go out at the right time. This keeps your outreach timely and relevant.
Here’s a tested timing sequence you can adapt for your engagement cadence.
| Connection Age | Message Type | Example Message | Objective |
|---|---|---|---|
| 0-24 hours | Initial welcome | “Thanks for connecting, [FirstName]! I noticed you’re in [Industry] – I’d love to learn more about your work at [Company].” | Establish rapport |
| 2-3 days | Adding value | “Hi [FirstName], I thought you might find this [relevant article/resource] useful given your role in [Industry].” | Provide value without an ask |
| 1 week | Soft engagement | “Hope your week is going well, [FirstName]! I’m curious – what’s the biggest challenge you’re facing in [relevant area] right now?” | Start a conversation |
| 2-4 weeks | Relationship building | “Hi [FirstName], it’s been a few weeks since we connected. I’d love to learn more about your priorities this quarter. Would you be open to a quick 15-minute chat?” | Move relationship forward |
Personalize each touch and cap daily sends to stay within LinkedIn’s guidelines.
Track conversations with PhantomBuster’s LinkedIn Inbox Scraper automation, which collects message history into your results so you can see who’s replied, who’s gone quiet, and when to follow up.
4. Network maintenance phase
Set a reminder to screen your connections every quarter, and remove LinkedIn connections that are no longer relevant. This keeps your network focused.
Within PhantomBuster, add the LinkedIn Auto Connection Remover to your maintenance workflow and apply these criteria:
- Connections from previous roles no longer relevant to your current position
- Prospects who haven’t responded for 6+ months (consider removing or re-engaging before pruning)
- Connections with companies no longer matching your ideal customer profile (ICP)
- Profiles that have been inactive for extended periods
- Connections with low Social Selling Index (SSI) impact
Before you remove a profile, export the connection record with PhantomBuster’s LinkedIn Profile Scraper data extraction automation. Store it according to your company’s data policy.
Why network quality matters
A focused network tends to improve post relevance and reach to the right audience. When your connections match your ICP, your LinkedIn posts reach the right people, engagement goes up, and LinkedIn’s algorithm gives you better visibility.
Plus, your searches become more accurate, and your sales productivity gets sharper. Ultimately, quality beats quantity every time.
Measuring results and optimizing your LinkedIn selling process
Here are some key metrics to evaluate your relationship management on LinkedIn.
- Connection Request Acceptance Rate: As a starting benchmark, target 30%, then adjust by segment and message quality.
- Response Rate to Messages: Start with a 10 to 25% target and refine by audience.
- Conversation-to-Meeting Conversion: Track conversation-to-meeting conversion and optimize your offers and timing.
- Network Growth Rate: Monitor your weekly and monthly net new connections.
- Connection-to-Opportunity Ratio: Track how many connections turn into qualified sales opportunities. Set a baseline from your last quarter and improve it month over month.
Set up a basic dashboard in a spreadsheet or your CRM to monitor this each week. Use it to spot what’s working, what’s not, and tweak your LinkedIn outreach as needed.
You’ll also be able to keep an eye on these metrics with PhantomBuster.
FAQ
Can I see exactly when someone accepted my connection request?
LinkedIn doesn’t show the exact time that you connected with someone. But if you export your data, you’ll see the date they accepted. Use PhantomBuster’s LinkedIn Auto Invitation Accepter to detect new acceptances and schedule a short, personalized welcome the same day.
Is there a way to bulk check connection dates for my entire network?
Yes. Just download your data from LinkedIn. Go to Settings → Data Privacy → Get a copy of your data → Download larger data archive. The file includes connections (and the dates you connected), but it can take up to 24 hours to get an email copy.
To export faster, use PhantomBuster’s LinkedIn Connections Export automation to pull connection dates at scale. Run times vary by account size.
How many LinkedIn connections should a sales professional maintain?
Prioritize relevance over volume. Build a network that matches your ICP and territory size. It’s about quality, not hitting LinkedIn’s 30,000 cap. Use PhantomBuster’s LinkedIn Auto Connection Remover to keep your business network laser-focused.
Does LinkedIn notify people when I remove them as a connection?
No. LinkedIn doesn’t notify them if you remove the connection. They’ll only notice if they check manually, so using PhantomBuster’s LinkedIn Auto Connection Remover keeps the change discreet and professional.
What’s the best time frame to send a follow-up after someone connects?
Here’s a tested timing sequence you can adapt:
- 0 to 24 hours: Send a welcome message
- 2 to 3 days: Share something helpful or relevant
- 7 days: Start a conversation
- 14 to 21 days: Ask for a meeting
This timing keeps you top of mind while building trust. Use PhantomBuster’s LinkedIn Message Sender to schedule personalized messages at safe, consistent volumes.
Can I automate the entire connection management process?
You can automate most of your LinkedIn prospecting with a simple workflow in PhantomBuster:
- Find prospects: Use LinkedIn Search Export to identify your target accounts
- Send connection requests: Use LinkedIn Auto Connect with personalized notes
- Welcome new connections: Use LinkedIn New Connection Welcome Message to send timely greetings
- Clean your network: Use LinkedIn Auto Connection Remover to maintain quality
Run it end-to-end in PhantomBuster. Just remember to check in regularly to maintain high quality and stay within LinkedIn’s guidelines.
Ready to manage connection dates and follow-ups in one place? Get started with PhantomBuster today and build your automated connection management workflow.